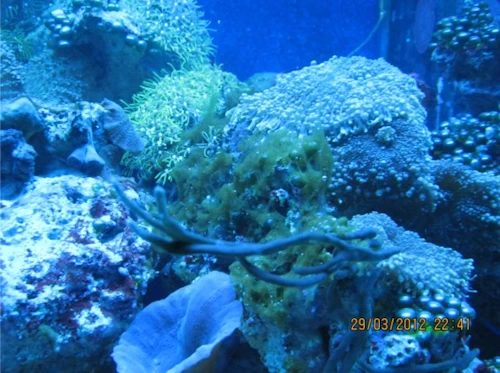
 Bubble algae
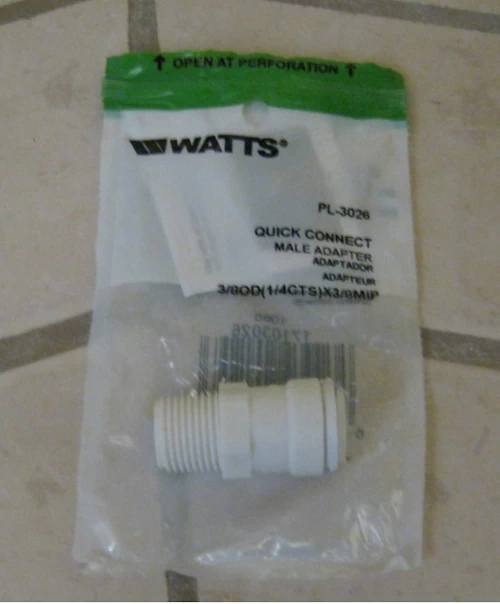
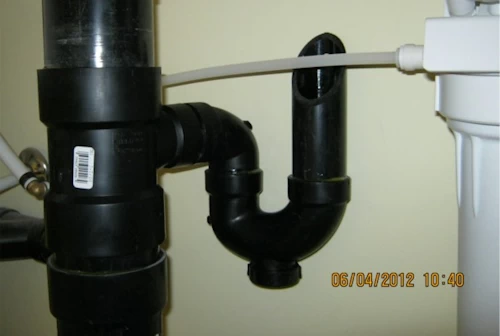
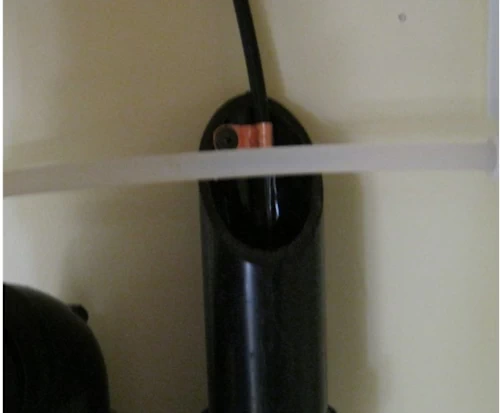
 I used a nylon ferrule instead of
the metal one.
I have never had a leak using one, but I have had some nasty leaks with
the brass ferrules on plastic pipe. It is pictured above.
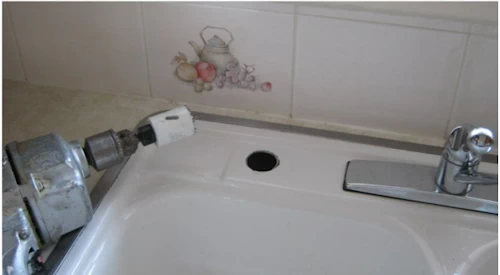
We have a cast iron sink and I
will need to drill a 1.5" hole in it. It would be much simpler if I had
an extra hole for a vegetable spray. I will be drilling it tomorrow.
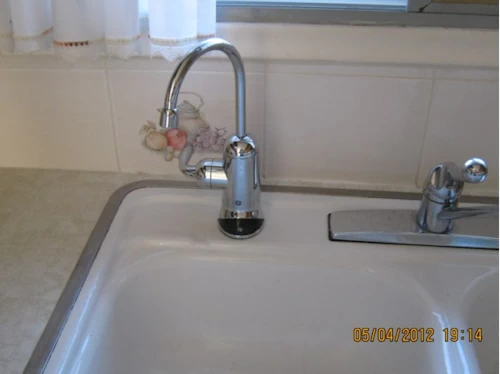
I have drilled the sink. It was
rather easy, it just was some effort to get a drill for steel. Wear
safety glasses, remember you only have one pair of eyes and no
replacements.
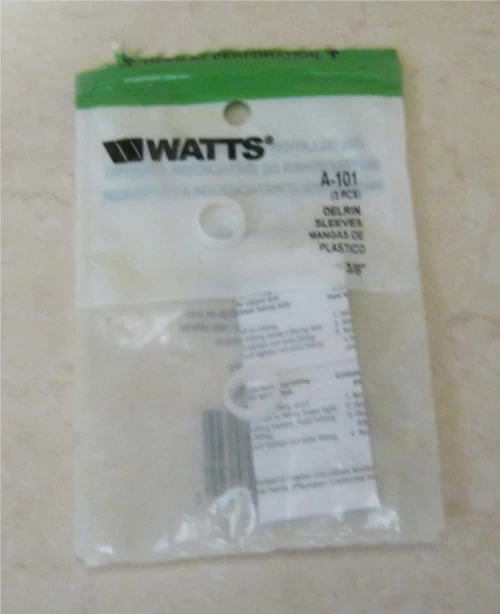
I used a nylon ferrule instead of
the metal one.
I have never had a leak using one, but I have had some nasty leaks with
the brass ferrules on plastic pipe. It is pictured above.
We have a cast iron sink and I
will need to drill a 1.5" hole in it. It would be much simpler if I had
an extra hole for a vegetable spray. I will be drilling it tomorrow.
I have drilled the sink. It was
rather easy, it just was some effort to get a drill for steel. Wear
safety glasses, remember you only have one pair of eyes and no
replacements.